Digital WPS: activating WPS
Proceed as follows:
| 1. | Go to the View menu (in the Welding view, press the Menu button) and select WPS. |
>> If no WPS is currently active, the following view opens:
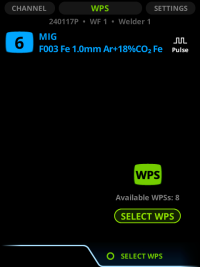
| 2. | To see the list of available WPSs, press the green button. The WPS list opens. |
Figure: Advanced mode / Basic mode


| 3. | Move the focus to the WPS that you want to activate. |
| 4. | Depending on the mode of Control Pad, select one of the following options: |
>> If the Control Pad is in the Advanced mode, press the green button to open the Actions menu. Select Activate WPS.

>> If the Control Pad is in the Basic mode, press the green button to activate the WPS.

Control Pad opens the WPS view. Here you can see all the WPS details that the welder needs to know for the job, including the pictures and details of the filler and the gas.
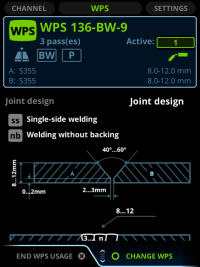
If the WPS includes several passes, select the pass in Active pass. See Digital WPS: selecting WPS pass in WPS view.
| 5. | Press a view button to leave the WPS view. |

|
You can also change WPS or the pass in Channel view. See Digital WPS: selecting WPS or pass in channel view. |