Installing cooling unit (optional)
For instructions on installing the equipment on cart, refer to Installing equipment on cart (optional).

|
The cooling unit must be installed by authorized service personnel. |

|
Do not attempt to move the power source with a hoist from its handle. The handle is meant for moving the equipment when installed on cart. |
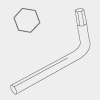
Tools needed:
|
|
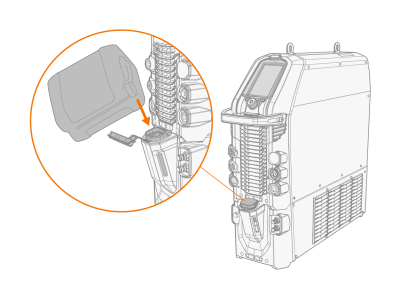
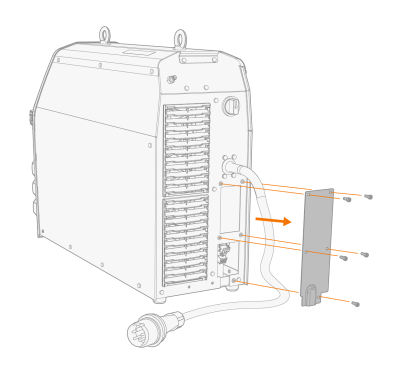
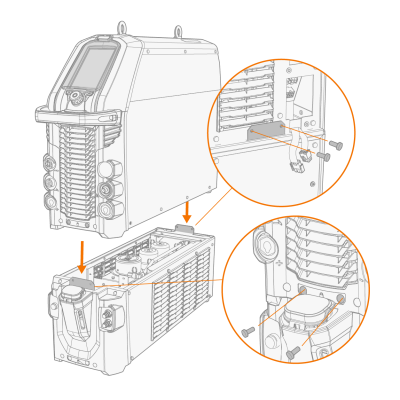
| 1. | Remove the power source's rear cover. |
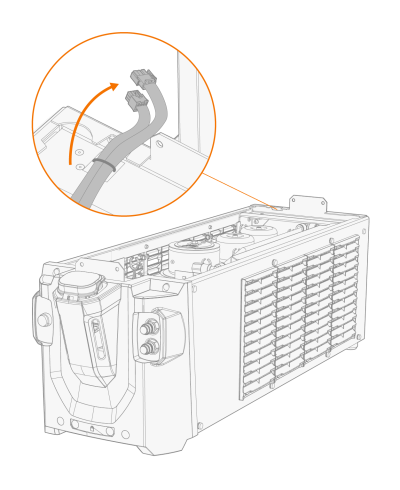
| 2. | Route the cooling unit's connection cables so that they remain accessible through the next steps. |
| 3. | Lift the power source with a hoist from the lifting eyes and place it on top of the cooling unit so that the fixing plates align and go into their slots. Fix the units together with two screws in the front and two screws in the rear. |
|
|
Ensure that the cooling unit's connection cables are not caught and/or damaged between the edges. |
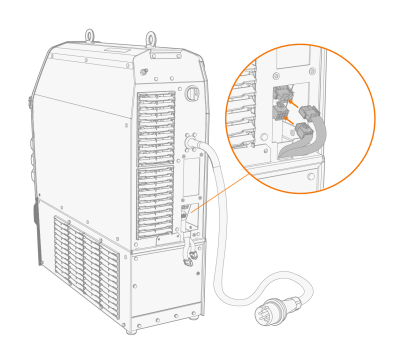
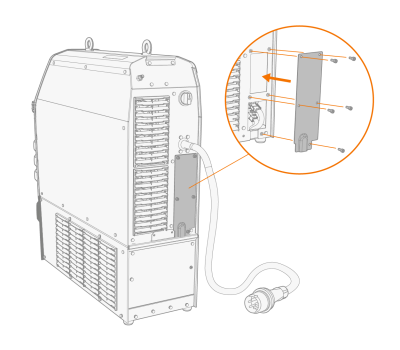
| 4. | Connect the cooling unit cables and put the rear cover back. |
| 5. | Fill the cooling unit with cooling liquid. |
>> MasterTig Cooler MXL tank volume is 3 litres and the recommended coolant is MPG 4456 (Kemppi mixture).

|
Avoid cooling liquid contact with skin or eyes. In case of an injury, seek for medical advice. |