Quick guide for setting up DCM 2.0
This section is a quick guide for a typical setup of DCM 2.0. The links lead to the corresponding instructions with more information.
Connect to network and DCM 2.0 user interface (WLAN access point mode)
| 1. | Connect your device (PC, laptop, mobile device) to the WLAN network offered by DCM 2.0. |
>> The WLAN default name (SSID) is DCM<DCM serial number>, e.g., DCM1234567.
>> The default password is KemppiDCM<DCM security code>, e.g., KemppiDCM1234.
| 2. | Open an internet browser and enter the default network address DCM<DCM serial number>.local or the IP address 192.168.3.1. |
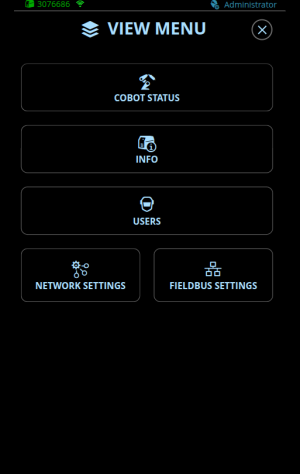
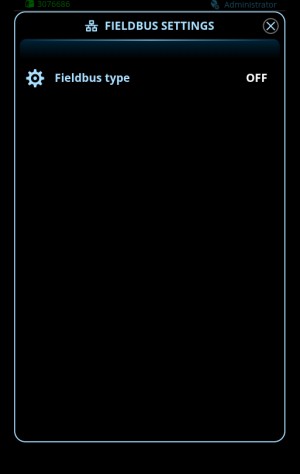
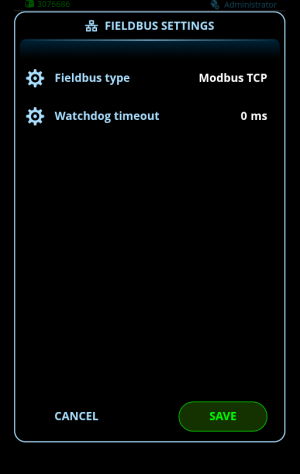
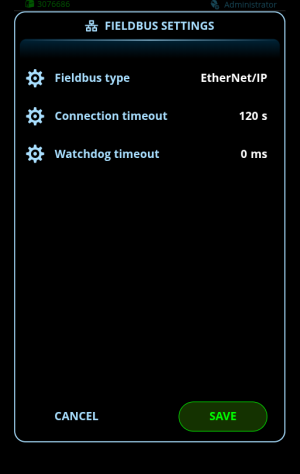
Select the fieldbus type and configure the fieldbus settings (Fieldbus settings)
| 1. | In the View menu, select Fieldbus settings. |
| 2. | In the Fieldbus settings view, select Configure, then select the fieldbus type. |
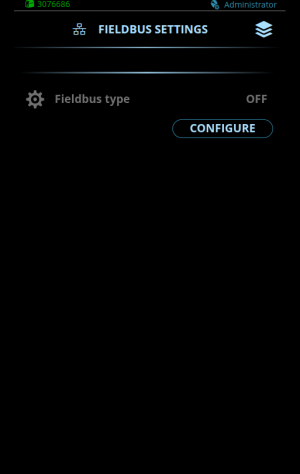
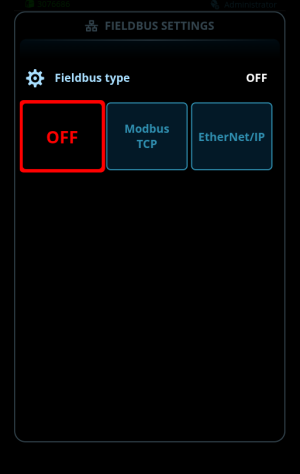
| 3. | Confirm the selection and close the view by selecting Save. |
Configure the network settings (Network settings)
| 1. | In the View menu, select Network settings. |
| 2. | In the Network settings view, select Configure for LAN 1. |
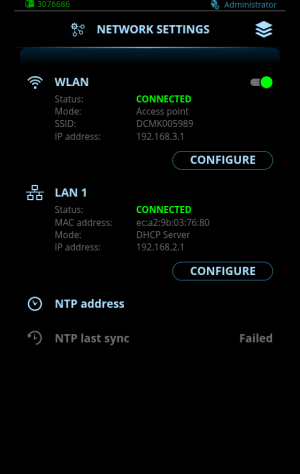
| 3. | The LAN 1 IP Configuration view opens with the default settings. If you want to change the default mode of the LAN 1 interface (DHCP Server), select LAN 1 mode. |

| 4. | Select the settings values for adjustment. |
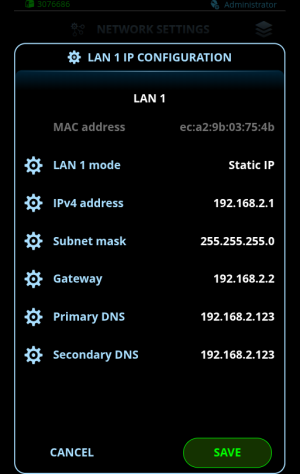
| 5. | Confirm the values and close the view by selecting Save. |
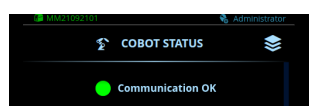
Connect to the cobot
| 1. | Connect the cobot to the Ethernet port on the rear of DCM 2.0. |
| 2. | Confirm the connection between the cobot and DCM 2.0 in the Cobot status view. |