Subfeeder installation
Before connecting or loading the filler wire into the subfeeder, the wire feed rolls must be installed and the mechanism must be set. Ensure that the feed rolls suit the filler wire size and type. Refer to Feed roll kit selection for more information.

|
It is not recommended to use knurled feed rolls in the main wire feeder unit when using the SuperSnake GTX subfeeder. They may apply too much friction on the filler wire at the wire feeder end preventing the best possible outcome with the SuperSnake GTX subfeeder. |
The subfeeder is delivered with a standard wire line component kit and with steel spiral wire liner, if not specified otherwise. Feed rolls are purchased separately. Ensure you have the correct components and feed rolls available and installed.
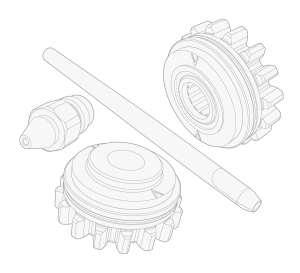
Tools needed:

|
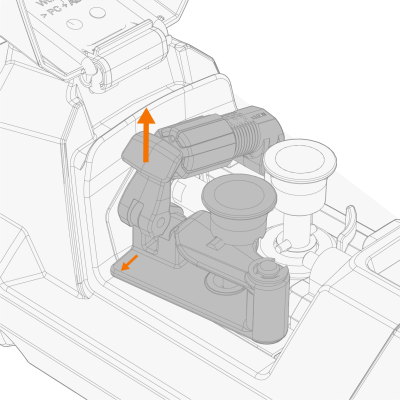
| 1. | Open the feed mechanism door. |
| 2. | Release the pressure arm by lifting it up from the end. |
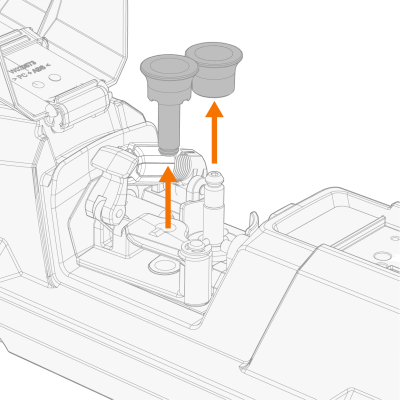
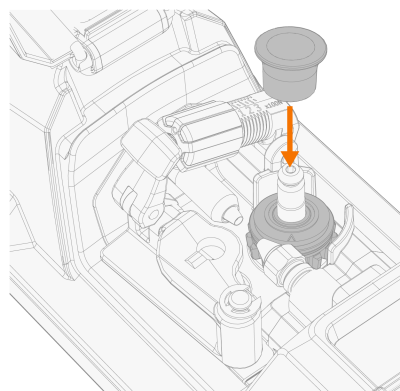
| 3. | Remove the feed roll fixing pins (B) by pulling them up. |
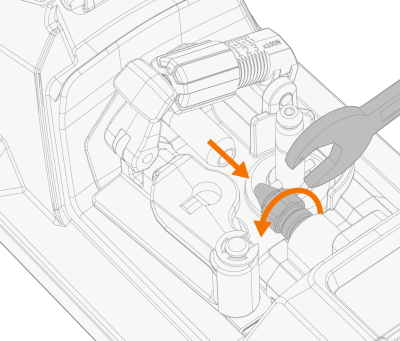
| 4. | Install the wire inlet guide tip. Secure the component in place with a spanner. |
| 5. | Install the wire outlet guide by inserting it from the welding gun end of the subfeeder. |

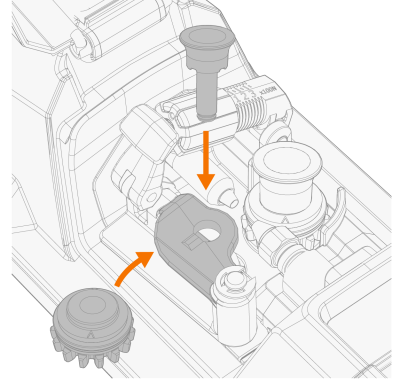
| 6. | Mount the drive roll in place, cogged roll section down, and secure the fixing pin/cap. |
|
|
Make sure that the groove on the bottom of the roll aligns with the crossing pin on the drive shaft. |
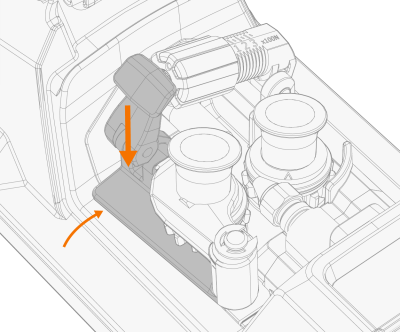
| 7. | Mount the pressure roll in place, cogged roll section down, and secure the fixing pin/cap. |
| 8. | Close the pressure arm. |
For adjusting the feed roll pressure, refer to Feed roll pressure adjustment.