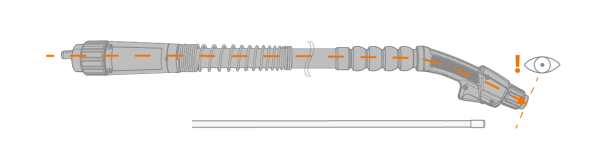
Replacing DL Chili wire liner
Tools needed:

|

|
Removing and inserting wire liner
The visual details may vary slightly between different welding torch models. The method is the same for both gas- and water-cooled welding torches.
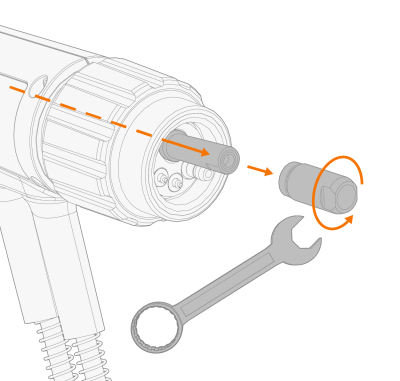
| 1. | Straighten the welding torch cable. |

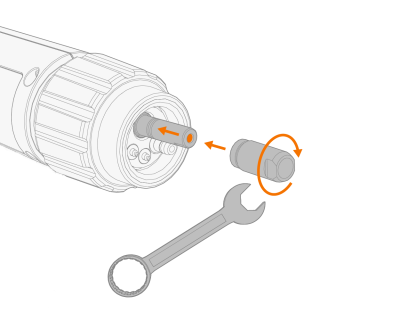
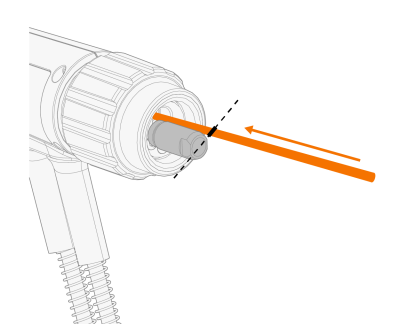
| 2. | At the wire feeder end of the cable, remove the wire liner's sleeve nut. |
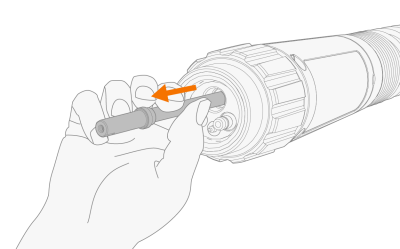
| 3. | Remove the old wire liner from the cable hose. |

|
If you still plan to use the same wire liner later, make sure not to damage the wire liner at this stage. |
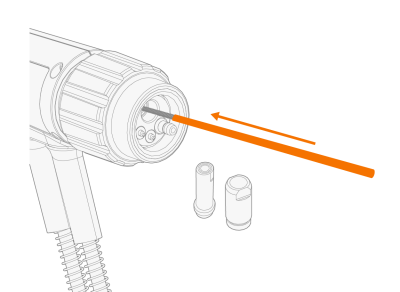
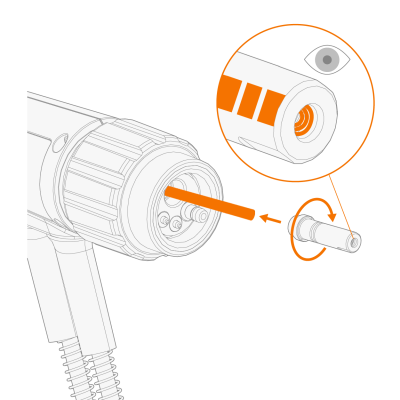
| 4. | Feed the new wire liner into the cable hose until it stops at the torch neck end. |

|
The standard DL Chili wire liner includes a short metal spiral section at its front end. This metal spiral end goes in first. |
|
|
To ensure that the wire liner is in the correct position, temporarily remove the welding torch contact tip. For more information on the contact tip, refer to About equipment and Assembling torch.
|

|
|
In case of a multi-neck welding torch, the wire liner does not go into the neck. To ensure that the wire liner is in the correct position, temporarily remove the neck. For more information on assembling the multi-neck welding torch, refer to Assembling torch.
|
| 5. | Insert the sleeve nut next to the wire liner for measure. (Do not install the sleeve nut in its actual position at this stage.) |
| 6. | Using carpet knife, cut the wire liner flush with the sleeve nut end. |

| 7. | Insert the retainer cone onto the wire liner and push in place. Ensure that the wire liner goes all the way into the tip of the retainer cone. |
| 8. | Place the sleeve nut on the wire liner and secure it in place by tightening it to 5 Nm torque. |