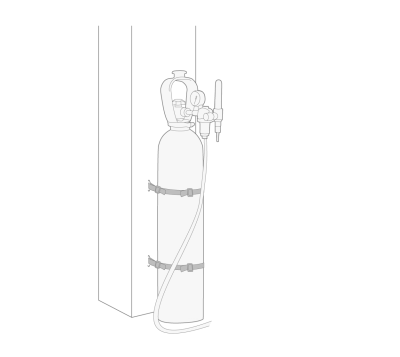
Installing gas bottle

|
Handle gas bottles with care. There is a risk of injury if the gas bottle or the bottle valve is damaged! |

|
Always secure the gas bottle properly in an upright position to a special holder on the wall or on the welding equipment cart. Always keep the gas bottle valve closed when not welding. |

|
- If a transport unit with a gas bottle rack is used, install the gas bottle on the transport unit first, then make the connections.
- Install the welding gun to the wire feeder before installing and testing the gas bottle. - Do not use the whole contents of the bottle. - Always use an approved and tested regulator and flow meter. |
Contact your local Kemppi dealer for choosing the gas and the equipment.
| 1. | Secure the gas bottle properly in an upright position to e.g. a special holder on the wall. |
| 2. | If not already, connect the welding torch to the wire feeder. |
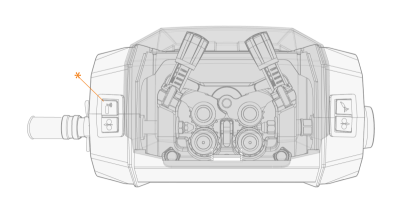
| 3. | Connect the gas hose to the wire feeder. |
|
|
In a standard setup, the gas hose is included in the interconnection cable bundle (for more information, refer to Connecting cables to R500 WF EUR/EUR+). |
| 4. | Open the gas bottle valve. |
| 5. | Press the gas test button on the wire feeder or in the AX Manager's Tools view to run the gas into the system. |
|
|
Use the gas test also to test that the gas flows through the system properly. |
| 6. | Press the gas test button again to adjust the gas flow. Use an external flow meter and regulator for measuring and adjustment. |